Thursday, February 27, 2014

Spring Shorts a Design by My Little Plumcake

Still knee high in snow, but My Little Plumcake is seeing how sweet spring will be. How cute are these shorts! No the pattern  is not available now, but soon, along with the other goodies that go along with My Little Plumcake's Spring collection. Keep an eye open for them in the next few weeks! You can also visit their Etsy shop if you looking to start a new project.


The design features pockets, pleats at the front, a high waist with ruffles and  an optional tie belt, and those leg bands with the button are also optional. 


Just in case you're wondering, yup, I had to bribe Amelia with a cookie to get her in front of the camera.

Until next time, xx.


Tuesday, February 25, 2014

Tara Dress Pattern 2 Ways a Design by Litttle Kiwis

I love testing patterns from around the globe, this one is from NewZealand! This dress designed by Little Kiwis is just what I'm looking for on the perfect summer day. The pattern has not been released yet but should be by the end of the week. You can visit their shop, Little Kiwis Closet, for other patterns.


This version is tiered with tie straps, knee length...


And a zipper at the back. I made mine an exposed zipper, but the pattern explains regular zipper installation. 


You can add as much as you like to this dress to make it frilly, everything is so well explained in the tutorial, but you know me, I like it simple and classic. That zipper gives it just enough of that original detail I look for. 

Ready for version 2...


A whole set of add ons was created for the Tara dress...like a full skirt instead of tiers, and instructions on how to use this pattern for knit fabrics. Amelia insisted on this fabric and with the size of the print I couldn't add on any extra little ruffles so the full skirt worked out great for this style.


Once again, I used the exposed zipper to add interest to my dress. 

So there you have it, Tara done 2 ways.

Until next time, xx


Saturday, February 22, 2014

Girls Asymmetrical Drape Top a Design by Everything Your Mama Made & More

Remember here, I made myself The Asymmetrical Darpe top and wore it to date night...well Kymy, from Everything Your Mama Made & More, has graded the top for newborns to tweens! The pattern should be available in her shop on Sunday. Tested it out on JubeJube...and we have a winner! She loved it and didn't want to take it off!


The hardest thing about getting  this top together was making sure the stripes were all lined up...seriouly! 


We may have gotten a little of a smile on the last one! 

Until next time, xx.


Thursday, February 20, 2014

Teacup Tilly Dress a Design by Ginger Baby Patterns

While I was away on vacation Ginger Baby released thier Teacup Tilly Dress pattern and its now available in their Etsy shop. This tutorial is packed with information on shirring, customizing size, and how to make it your own. There's even a section in the tutorial to make it as frilly as can be for princess play.


I like making things classic and simple so I used a woven cotton and made the dress knee length for Amelia.


I like that the sash in not sewn into the dress so the dress can be worn without it, and the sleeves have perfect shoulder coverage.


Love this dress, and I have a feeling that it will be one of Amelia's favorites too.

Until next time, xx


Monday, February 17, 2014

Winter Vacation

While some are just itching to get to warmer destinations, we go up further north to a place where I just forget about everything and loose track of time.


A place where you must get bundled up so you don't get cold, or wet.


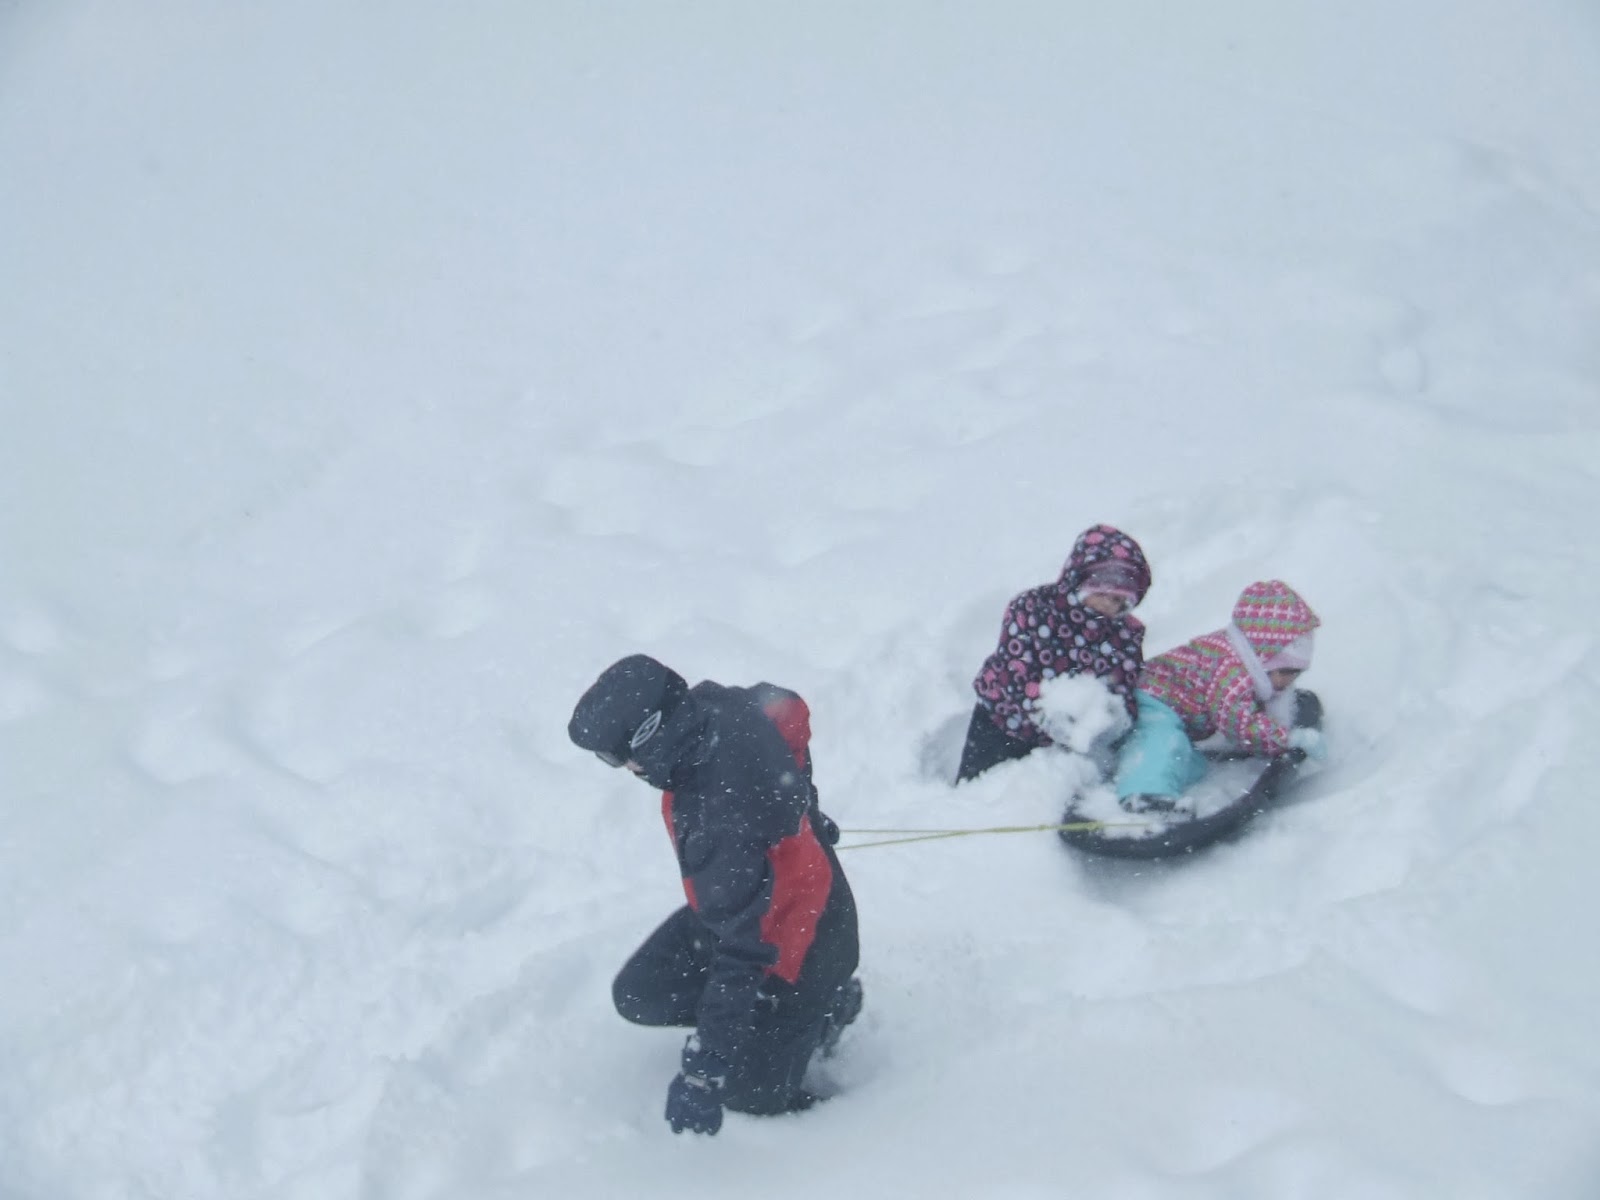
And where big kids can slide down snow hills and little kids get the big kids to do all the work of getting them back up hill.

This was my week...and I will be back to reality soon...

Until next time, xx.


Thursday, February 13, 2014

Happy Valentine's Day

I'm away on a little vacation with Amelia and JubeJube but will be back on Tuesday. Wishing you a Happy Valentine's Day with lots of hugs and sweet kisses.


Until next time, xx.


Monday, February 10, 2014

Asymmetrical Drape top a Design by Everything Your Mama Made & More

Last week it was Sasha's top that I tested in JubeJube's size and this week I got to test a new design by Everything Your Mama Made & More for me, the Asymmetrical Drape top (available in sizes XS to 5XL). So quick and easy that I was able to get it made before date night, plus it was so comfy and stylish that I wore it to dinner. So two very rare things happened on the same day, I was able to sew up something for me AND had a date with my love.


I just don't have the body type to wear horizontal srtipes, those stripes just make everything look wider than they are. The horizontal stripes work for me on this dolman top because of the drap. I would say the most time consuming issue with this top was making sure my stripes did match up at the side seams. So now, I'm sewing for me, going on a date and wearing horizontal  stripes! 


I will be making a few more of these for sure and use the different options like the neckline binding and the low waistband. I'll show you how they turn out.


Until next time, xx.

Friday, February 7, 2014

Agathe Slouchy Pants Sneak Peek Designed by Les Filles à Maman

A few short weeks ago a friend helped me dicover a new designer that goes by the name of "Les Filles à Maman". So happy that I got a chance to test her new pattern, the Agathe and Theo Slouchy pants, due to be released on February 26th. Some of you may already know that I'm Canadian from Montreal, Québec and I'm so proud to see Québec designers, like Les Filles à Maman, getting their name and product out there!

So here's just a teaser of JubeJube in her Agathe Slouchy pants...


More on these comfy yet stylish pants in the coming weeks, in the meantime do go visit Les Filles à Maman's Etsy shop for a look at their other patterns.

Until next time, xx

Thursday, February 6, 2014

Anniversary Celebration Continues

I've been racking my brains trying to figure out what would be the perfect giveaway prize, but I've been so busy with custom orders....hummm, yup, that's it!

To celebrate 4 years of SJJ creations, I will be giving away a 20.00$ gift certificate for a custom order! So that means you can have me make ANYTHING (or just about) for your little one, boy or girl, be it a hooded towel, to a garment that you've seen in a past blog post, or something you've seen elsewhere. Fun, right? The giveaway will end Tuesday, February 11th. For now, here are some images to give you some ideas of what you'd want to have me make.


Until next time, xx.


   a Rafflecopter giveaway

Wednesday, February 5, 2014

Pansy Dress and Top designed by Ruby Jean's Closet

You've got to go visit Ruby Jean's Closet on Etsy! They've just released a new pattern, Pansy, and instant download is available for this one. Here's how pretty it is...


With every design that is drafted by Ruby Jean's Closet every little detail is thought up with care. 


Amelia loves her new sundress. With different length options you can make it into a top, to the knee, or even as a maxi dress. Just think how cute this would be as a top with a pair of bloomers!


There's an elastic at the back and two buttons for the criss cross option, and if you're not big on making button holes the straps can also be tied as a halter top.


Love that the ruffles are cut on the bias, it makes for a different flow to them.


Just in case you were wondering about the fabric, its a design by Holly Holderman for LakeHouse Dry Goods. All their prints are very pretty and most have a vintage feel to them, and the quality, amazing!

Until next time, xx.


Tuesday, February 4, 2014

Sasha's Top a design by Everthing Your Mama Made & More

I got to test Sasha's top by Everything Your Mama Made & More and I wanted to blog about it becasue the first time I tested for Kymy it was a nightgown for me and trust me nobody needs to see photos of that! Visit Kymy's pattern store for more patterns and tutorials, I know she'd love to have you stop by!


JubeJube was very excited about this one because she chose her fabric and did she ever pick the right color! This is a very loose dolman type style so its basically a front and a back with shouldler seams and side seams...easy peasy to sew up, even with the two girls asking me for snacks every 5 minutes.


Sleeves are to the elbow and elastics at the arms waist and neckline. In the pattern you also get tunic length, and dress lenghts. 

If you like this and are wanting a top like this for yourself, go to Kymy's pattern shop and pick up the Natasha for yourself.


Until next time, xx.


Monday, February 3, 2014

Shortie Nightgown & Bloomers by Get Your Crap Together

This is the first pattern design by Get Your Crap Together. This super cute PJ pattern will officially be released on February 20th as part of the Aspiring Designers Challenge. And yes, lucky me, I got to be part of Chelsea's testing team! This pattern has a ton of options: nightgown, top & bloomers, and with or without sleeves.


Super cute design, right!
I got to make the top sleeveless version with bloomers for JubeJube. This design screams vintage for me and I had the perfect fabric in my stash to go along with the vintage look. 


So grateful that this design was thought up without buttons to close it up! Makes for a nice afternoon sew (including cutting time), and no buttons also makes it super easy for JubeJube to get the top on and off by herself!


I really don't think this is the last pattern design by GYCT. Waiting and wondering what else we'll see from Chelsea!

Until next time, xx.


Saturday, February 1, 2014

Cupcakes All Around!

Who here doesn't like cupcakes?  How could you not! To help celabrate 4 years of Sprouting JubeJube creations I've set up my famous cupcake template, yours to use for free, but please don't sell it as your own design.


This is what you'll need to create your appliqué:
  1. cupcake template (right click on image to download)
  2. 2 fabrics (1 for cupcake top and the other for cupcake base)
  3. Heat N Bond
  4. iron
  5. coordinating threads, sewing machine...
Here we go!


                        photo cupcaketemplateappliqueacute2_zps544d9009.jpg


What I like to do is cut out a square in the fabric I've chosen, stick my Heat N Bond to the back of the fabric then cut out the shape I need (in this case cupcake top and base) with all its little details. Its just easier to make sure the entire back of your shape is covered with Heat N Bond. Follow manufacturer's directions for using Heat N Bond.


Once your shapes are cut out and the backing removed, iron the cupcake base in place.


Set your sewing machine to zigzag, I usually set mine to about 4 in width and a little bit past 0 for the stitch length to create a satin stitch. I also take a little bit of pressure off my presser foot, it just makes it easier to move my fabric along those curves. Another little trick is to put a sheet of paper under you work, it helps stabilize your design as you sew around your appliqué, just rip off the paper when done sewing.


Time to set your cupcake top. Iron in place like you did for the base.


You can simply do the contour, or add a little dimension to it like I did where the icing seems to overlap.


This cupcake was put on a hooded towel, but it can also be used on bibs, sweaters, onesies... Just remember if this is your first try at appliqué to go slowly and try it out on some scraps before doing it on your good stuff. Have fun!

By the way, more fun celebration stuff all week, like maybe a giveaway to be announced on Monday and other fun things...

Until next time, xx