Thursday, January 30, 2014

Caroline Party Dress for Women by Mouse House Creations

I started out the month (and the year) with my two youngest, JubeJube and Amelia, in their Caroline Party Dress from Mouse House Creations. I'll be closing out the month with a peek of another Caroline, but this one is the women's version. Sorry that its not available yet, its still in testing. Hayley will keep on working on the pattern until its perfect, and its sooooooo close!

So for the first time EVER on my blog, my eldest daughter, Sabrina, and some photos of the Caroline dress I tested for her.


I made the cap sleeve version with the length of the dress going to the knee. The dress can be made with long sleeves, 3/4 length or short sleeves, and instuctions are given for different skirt lengths (including a peplum top), pleats instead of a gathered skirt, and the list goes on!


I think I see more Carolines in my future.
Now you've seen all three of my girls, I just need to get my son, Sebastien, on here now!


Until next time, xx.

Tuesday, January 28, 2014

High Waisted Pleated Skirt by My Little Plumcake

So we love My Little Plumcake patterns...I've said a few times, right? Now even more reason's to love their patterns because the new spring line will knock your socks off! I love every detail Michelle puts into her designs. Seriously I don't mind spending all that time at the ironing board to get all those pleats just right because sewing can't always be quick, easy, and about finding shortcuts to not doing any handsewing. Every time I make a garment using a MPL pattern it brings me back to why I love sewing so much, taking time to create something special.

Ok enough now...time for a sneak peek!


You will have to wait for this pattern only due to be released in March, but oh so worth the wait! Until then so go visit their Etsy shop for other available patterns
ok, ready for more...


This skirt is designed to be high waisted and goes down to the kee, it has inverted pleats, is fully lined and has optional straps. I added the little bit of ruffled lace to the underskirt so that the lace woud peek out from under the skirt and I love it.


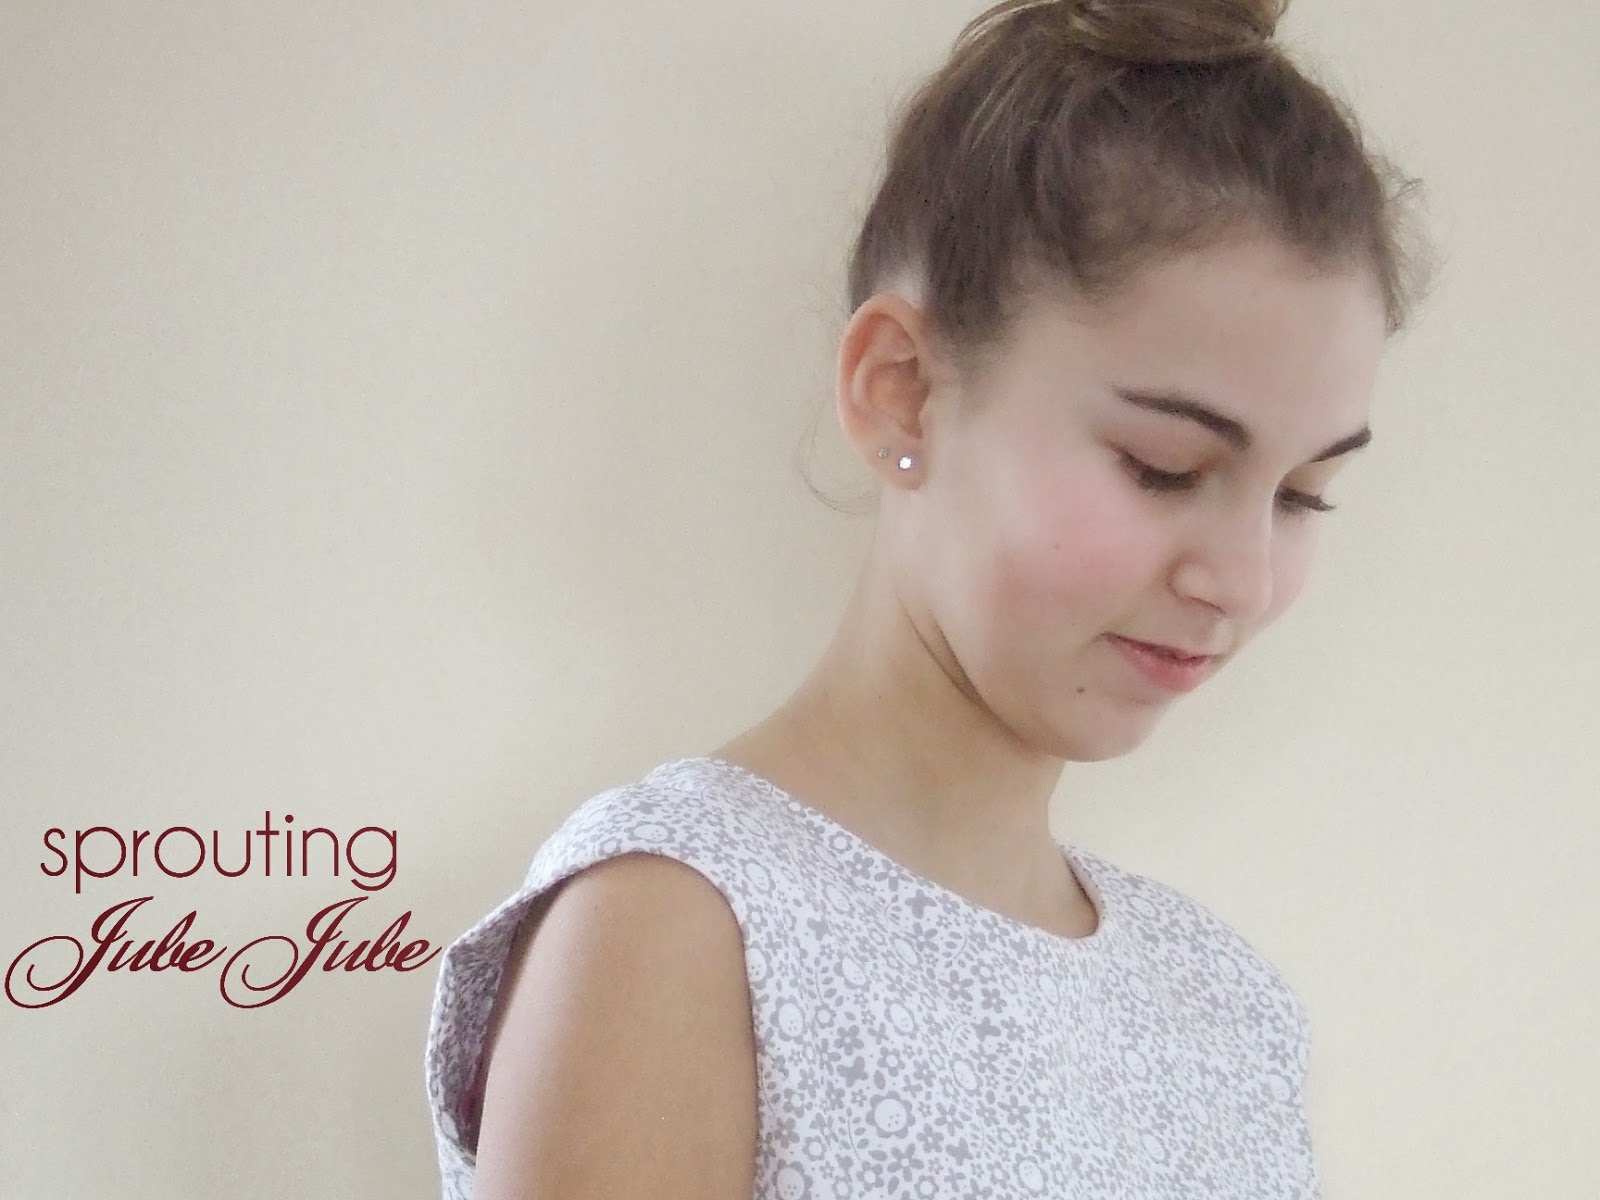
JubeJube loves her new skirt and was so excited to try it on, but she gets so serious and dreamy looking when we take out the camera. She almost looks like she's day dreaming about her Valentine.

Until next time, xx.


Tuesday, January 21, 2014

The Twirly Skirt by E&M Patterns

This is the image that prompted me to apply for the testing call. Little did I know that this is the first clothing pattern by E&M Patterns, and is now available in their Etsy shop. Isn't it pretty! Do also take a look at Allison's fancy crib shoe patterns in her Etsy shop, petitboo


This is my finished version that I showed a sneak peek of here when I wrote up the tutorial about the adjustable elastic.


I used a polyester suiting to make it more for this time of year (cold), it will be really nice with a pair of tights, layered with a cardigan.


I did cheat a little, I used grosgrain ribbon for the sash, and a ready made double fold bias instead of making my own, but it worked out great.


The length is just perfect, to the knee and with the elastic at the back, no zippers or buttons! The explanations to this pattern are so easy to follow AND my skirt is as pretty on the inside as on the outside (and no serger required).


I got a happy dance out of my niece and a sweet "thank you auntie Debbie". 

Until next time, xx


Monday, January 20, 2014

Adjustable Elastic Waist and Making Clothes that Fit

Sometimes there is no need to go through all the pattern adjustments like I did here for the skinny jeans and here for the knit blazer, espcially when its for a skirt. Adjustable elastic is, most times, just the perfect thing when you want something to fit just right at the waist. 

These are the steps I went through to be able to put the adjustable elastic in the drop waist circle skirt. Its the Twirly Skirt by E&M Patterns due to be released very soon (I'll be setting up a link when the pattern is available in the meantime go like their facebook page to see what other goodies are on the way)! The front of the skirt has no elastic to help keep it up so the elastic at the back is very important. This is my theory, we don't always have the luxury of having our models with us at all times and sometimes adjustments, like elastic length, are required before the garment is completed, and that's why I love this type of elastic so much! 


This is what an adjustable elastic looks like...button holes! 
So lets get started! 


Sew side seams of the lining leaving a space at the top for the elastic to pass through. The seam allowances for this pattern is 0.5" and the elastic is 5/8". 


Press your side seams open.


Make sure the elastic passes through the space you left, it would be ashame to finish off your skirt only to realize the elastic doesn't pass through.


I like to top stitch around the opening to make sure the seams stay in place. It makes for a nicer finish even though this is the inside of the skirt.


The lining of the waistband is sewn to the outside of the skirt at the waist line, then top stitched (as per pattern instructions).


This is the outside view of the waistband with the sash already sewn into the side seam.


Form the casing for the elastic only on the back of the skirt.
I like finishing off my edges of the elastic, I find it prevents laundry messes with unraveling elastics.


Use a safety pin to pass the elastic through the casing.


At this point you might want to secure the elastic by making a few stitches at the center back. The last thing you need when you're in a hurry is for your child to pull out the elastic, search for a safety pin, and have to reinsert the elastic.


Sew on a couple of buttons close to the openings of the casing.


And that part of the skirt is done, actually all you would have left to do is attach your skirt and finish off your hem, in this case super easy, finish off your hem with double fold bias. You can find my tutorial on how to trim out with bias tape here.


Seriously, this skirt is gorgeous! Here's just a sneak peek and I'll be posting very soon with skirt on my model :)



Monday, January 13, 2014

Bow Twirl Dress by Whimsy Couture

Many pattern designers are making me crave Spring/Summer with their new designs including Whimsy Couture with the revamp of the Bow Twirl Dress. I'm so happy that revamp also means me getting to test it out! This one was made for Amelia.

Every once in a while its nice to come across a pattern  with no pieces to print. Measure out the dimesions needed and cut out in a straight line, get to the sewing machine a just sew. The Bow Twirl pattern features a shirred bodice (you can find a short tutorial on shirring here) and a bow that can be worn in the front or back. I had Amelia model it with the bow in the back for fear that she would undo the bow (because she will do that). Measurements are also given to make it as a top, so fun for the summer, right?


I used Riley Blake's Verona by Emily Taylor. There's the bow from the back and as you can see the length of the dress is just to the knee. 


And one more because I just can't get enough of this face :)


Monday, January 6, 2014

Shirring Tutorial

Last year one of JubeJube's favorite outfits was a shirred one piece with ties at the shoulder. Easy enough to make and so comfy for the little ones to play outside with. I did have a lot of people ask me afterwards how to shirr so today I'll be sharing my little secret.


First thing is you need to make sure that your sewing machine is friends with the shirring technique, not all home machines play nice with thread elastic.


This is the brand I use, but just about any brand is fine as long as its thread elastic. Try it out on a swatch just so you don't mess up on your good fabric.


My machine is all threaded and just about ready to go. Here's what I did, I wound the thread elastic onto the bobbin and I have my regular poly-cotton thread threaded through the top of the machine. I'm lucky enough that I don't have to hand wind my elastic onto the bobbin but again some machines don't play nice and you might have to wind it by hand. Set you stitch length to the longest and your tension should be at 2 or 3. 


With you fabric right side up start sewing the length of your fabric. I like to back stitch at the begining and the end of each row, but some say you don't need to. 


Each row is about 1/4 " apart or the width of your machine foot. For the best results, remember to take your time, to make your rows even and make sure before you start your next row that you have enough elastic in your bobbin to finish off the row.

Once your elastics are secured (in this case the side seam) you need to steam with an iron or steamer the rows of elastics for maximum elasticity.

This is a rule of thumb: if you need, for lets say a bodice, 21 inches of shirred fabric make sure you have a piece 42 inches by the height of the bodice you desire. This is a guideline, not all fabrics will require double the amount for it to fit around the chest, it depends on the weight of the fabric and how rigid it is. Its always easier to cut it down to size then to have to try to add 2 or 3 inches to your fabric.

Next thing: elastic thread has latex in it. If you or your child has sensitive skin you may not want to make the bodice fit super tight because they won't want to weat it if its super itchy on their skin.


There you have the finished shirred bodice. Can you tell that JubeJube was in no mood for photos today. Next week I'll be posting a tutorial on how to make the one piece :)


Friday, January 3, 2014

Knit Leggings by Whimsy Couture & a Girl and her Doll

Just before Christmas Whimsy Couture revamped their leggings pattern, and I'm so glad they did. I managed to get a pair done but haven't had a chance until now to "sew and tell". I made these at 2 in the morning, just to tell you how easy they are to make even with fatigue setting in, but I had nothing but quiet in the house. Paired the leggings with the Boho Tunic from here, and there you have it, a comfy little outfit!


Just love those ruffles down by the ankle!

Today JubeJube decided that we needed to take pictures of her (I had just finished a mini shoot with Amelia for another project I worked on). How could I say no. I dressed her up in the same little outfit and minus the Christmas tree. She also insisted on a handmade rag doll (The same pattern I used to make all those elves)


Love those toes!


Wednesday, January 1, 2014

New Years Eve in a Caroline Party Dress

The last project of 2013, The Caroline Party Dress by Mouse House Creations. The girls were the talk of the party in their new dresses. Was I ever glad to get photos done a day before the party because there was a lot of this...


and this...


And that's fine, but a little hard to show what the dress really looks like.

So now here are princesses Amelia and JubeJube in their black taffeta with pink embroidered flower dresses.


And we had to include a photo of grey cat because JubeJube just loves her grey cat :)


Wishing you a happy 2014!