Showing posts with label Moto Jacket. Show all posts

Friday, December 11, 2015

Day 5 Moto Jacket Sew-a-Long - A PDF by Jennuine Design

The last day already?! Where did the week go! I can tell you one thing, Amelia is so glad to finally get her new Moto Jacket!


Just incase you missed a post and any helpful hints here are the links from start to finish of the Moto Jacket Sew-a-Long featuring a pttern from Jennuine Design*:
  • Day 1 - preparing your pattern
  • Day 2 - cutting your fabric 
  • Day 3 - zipper, welted pockets and more
  • Day 4 - sleeves, lining, and collar

There's still time to get your pattern at a discount in the Jennuine Design* pattern shop, use the coupon code "MOTOSEWALONG" at checkout to get the pattern for only $6.00 (regular $10.00). The discount will be available until December 13th, 2015.


Here are some details about the pattern:

  • Layered printing so you can print only the sizes you need and want. 
  • Easy to follow step-by-step intructions with drawings in the tutorial.
  • 3/8" seam allowances included.
  • Sizes range from 2t - 12 years.
  • Charts for fabric requirements and measurements of finished garment included.
  • Extra information about blending sizes, shortening zippers and creating the garment for a boy or girl...all this is in the pattern tutorial.
If you need extra help or you just want to share your Jennuine Design creation just join their facebook group.


Until next time, xx.

*This blog contains affiliate links meaning I make a small commission if you click on the link and make a purchase through it at no extra cost to you.

**I was given this pattern for the prupose of the sew long but all opinions are my own!

Thursday, December 10, 2015

Day 4 Moto Jacket Sew-a-Long - A PDF by Jennuine Design

Day 4, and we're in the home stretch! Be sure to share you finished project in the Jennuine Design Pattern Group on facebook!


If you didn't have a chance to sew along with us you can still pick up the pattern in the Jennuine Design Pattern Shop*, you can still get it at $6.00 (reg. $10.00) until December 13, 2015, use the code "MOTOSEWALONG" at checkout. While you're there take a look at all the other fun patterns available...JubeJube's favorite leggings are the Dressage Leggings, I must admit I really like the fit on her too.

Yesterday we really saw our jacket take shape, I love it when all the little pieces come together to shape make a garment. We talked about the pocket and top stitching, the zipper was put in and then it was the shoulder seams, back center seam and the side seams. 


Today, let's talk lining, collar and sleeves. 

I assembled my lining the as instructed in the tutorial, basted my collar to the main jacket. I wanted to make sure that the corners would meet up. I like the look of this cowl on this jacket. Due to the fact that I used the bottom band of a  sweater the collar is not as high, but that's the fun of creating with what you have, you always find a way to make it work. 


Once my collar was in place with the basting stitch I was easily able sew the lining to the main jacket making sure my soulder seams at the neckline matched up and the side seams were all matched up. 


I have to admit that I cheated a bit on the sleeves. I put in my sleeve and finished off with my serger to keep all the layers together and later today I'll be using the bias to finsh off the seam the way it should be as shown in the tutorial. It doesn't look that bad with serger stitch but it doesn't look finished and after all the planning and beautiful top stitching it would be ashamed not to finish of the inside of the jacket to give it a high-end look.

Come back tomorrow to see the whole finished jacket on my little model. 

Until next time, xx.

*This blog contains affiliate links meaning I make a small commission if you click on the link and make a purchase through it at no extra cost to you.

Tuesday, December 8, 2015

Day 2 Moto Jacket Sew-a-Long - A PDF by Jennuine Design

Day 2 is here and I'm ready to get cutting! 


Just a few things you want to remember before you start cutting into your much loved fabrics:

  • Are you making your jacket for a boy or girl, left over right for a boy, and right over left for a girl, The right and left front pattern pieces are not the same!
  • Are all your pattern pieces the required size for your model. Yes its happened to me, I've cut a size 4 front and a size 5 back, lucky for me I was able to fix that.
  • Make sure you lay your pattern pieces the right way for directional fabrics and they are all following the grain line.
  • Do all your required pattern pieces fit on your fabric, it would be ashame if you forgot just one piece and didn't have enough fabric to finish off your project.
Ok, I think we're ready to cut! I still get nervous when I start cutting into fabric...and I've been doing this for so long! Silly question here, and I'd love to get your comments on this, do you still get nervous when cutting into fabric or are you over that?

These are the fabrics that I'll be using. A heavier denim for the outside, soft cotton flannel for the lining and I'm going to upcyle a knit sweater and use the ribbing for the cuffs, neckband welted pockets. This is going to be one sweet looking jacket!


What to do if your zipper is just too long, that's an easy fix, but if your zipper is just a bit too short you will want to go and get something a little longer, at the same time pick up a couple of zipper stoppers, you'll be able to ask a sales associate for those at your local fabric store. (You'll see the little stoppers in the image below). Page 5 of the pattern tutorial has all the information you need about shortening a zipper. Jennifer has also set up the video tutorial on shortening zipper on her website. You'll want to make sure you have the tools you need just make your life easier and get it done.


Zipper teeth can be easily removed with a small pair of pliers and the new stoppers can be placed at the right height for the length of zipper you need. Some may wonder, but do I really need stoppers, the answer is YES! There's no way around it. 


Join us tomorrow, we start sewing! Yay, I can't wait!

By the way, still time to join in on the fun, join the Jennuine Design Pattern Group and grab your pattern in the Jennuine Design* pattern shop for only $6.00 using the code "MOTOSEWALONG" at checkout.

Until next time, xx.

*This blog contains affiliate links meaning I make a small commission if you click on the link and make a purchase through it at no extra cost to you.


Monday, December 7, 2015

Day 1 Moto Jacket Sew-a-Long - A PDF by Jennuine Design

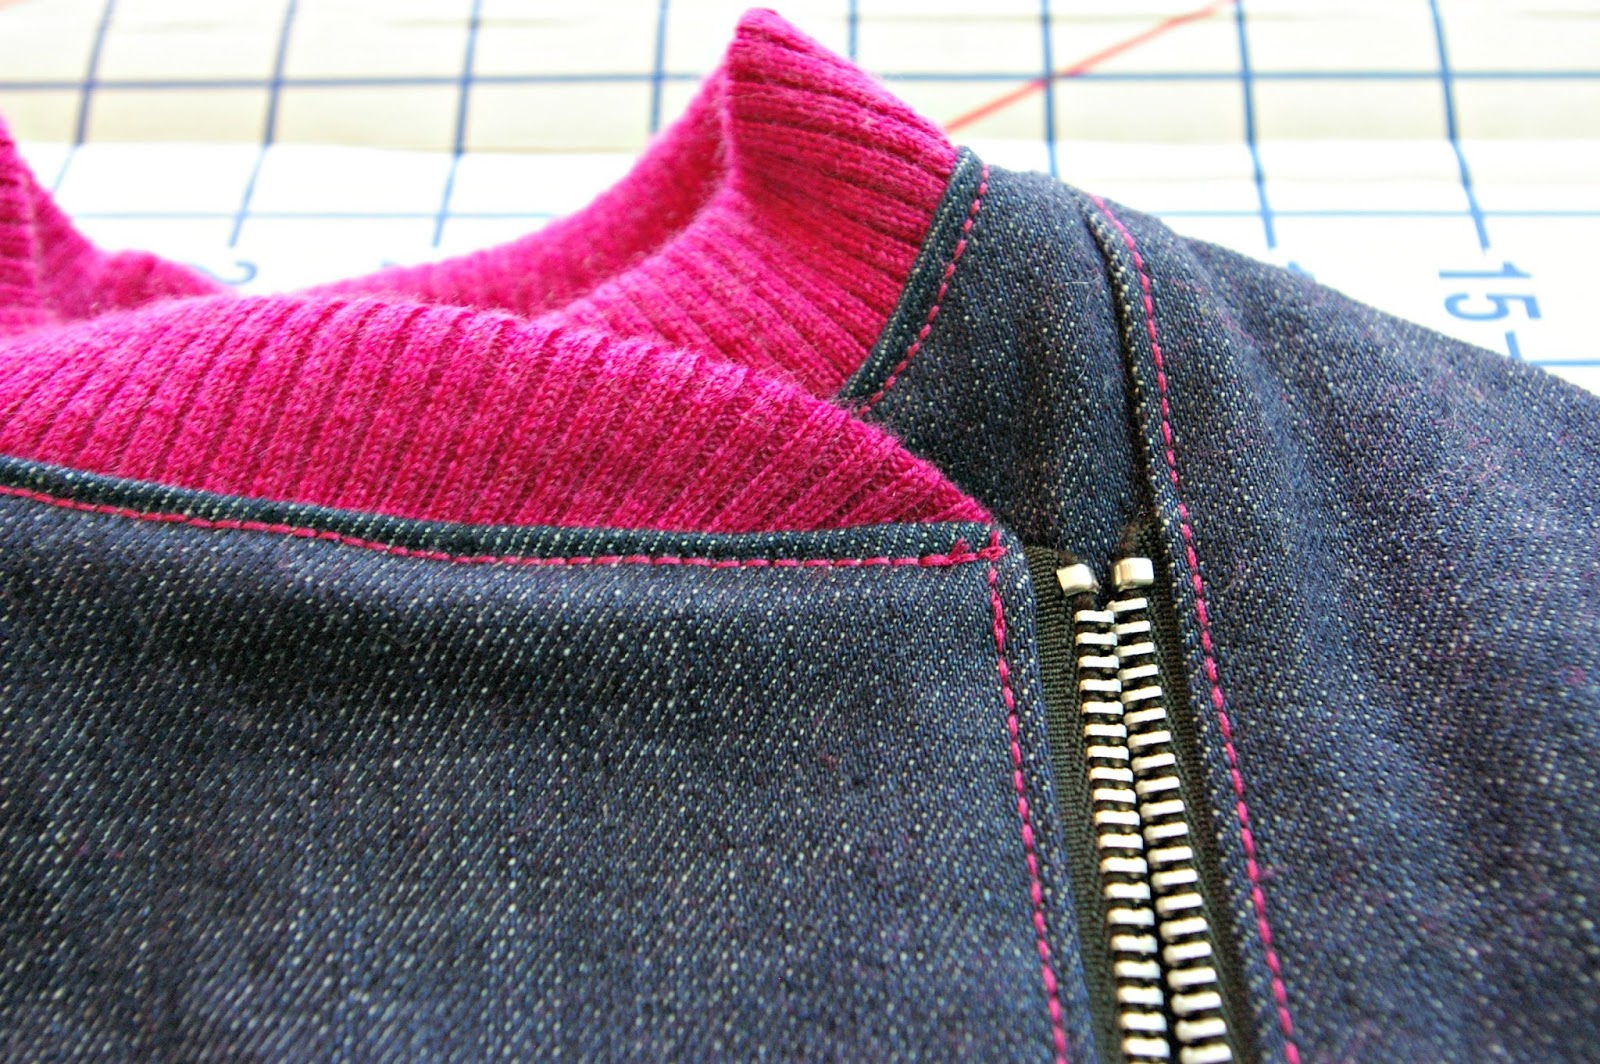
Welcome to Day 1 of the sew-a-long featuring the Moto Jacket by Jennuine Design! Very excited to sew this one up with you. It brings me back to the first time I sewed up a really cool jacket (ummmm quite some time ago) and when my son Sebas had grown out of it he was really sad to the point he said he didn't want to grow anymore... just to give you an idea of its cool factor (he changed his tune quickly enough when I made him a new jacket).

Ok so back to our Moto Jacket and what we need to get done today!

First, if you haven't already purchased your pattern now is the time to get it! Jennifer has created a coupon code for you to use in her pattern shop Jennuine Design*. Use the code "MOTOSEWALONG" to get the pattern for only $6.00. If you want to be able to share your creations in a group setting, don't be shy, join the Jennuine Design Pattern Group on facebook.


Today is the day we get everything ready. I like to make sure I have everything I need so I don't have to stop what I'm doing and make a run to the store. Take a look at page 3 of the tutorial for a complete list of materials and notions needed to make this project.

I like to start off by throwing the fabrics that need washing into the washer. While the fabric is being taken care of I print off my pattern and tape it together. When a pattern has a layering feature like this one (infact all Jennuine Design patterns have that feature) I like to print one size up and one size down especially when I know I have to blend sizes or I'm unsure as to what size I need to make for my little model.

Lets talk about choosing sizes. You'll find both these charts in the tutorial on pages 3 and 4. The first chart is the chest meaurement your model has, and not the final meaurement of the garment. If you want to make clothes that fit go according to the meaurement, not the size they wear in store bought clothes. To give an example, for both my girls I buy ready to wear (RTW) clothes in a size 6 or 6X, BUT that's only becaue I need the length (especially on pants), and the waist ends up being really big on them. When I make their clothes I usually make a size 5 and end up adding a couple of inches to the length so that they don't end up looking like they're wearing floods. Sometimes I have to do more than add a couple of inches to the length of the pattern to make a garment that fits; here, and here are a couple of examples of blending sizes.


The chart of finished measurements is also another fantastic tool to make sure we're making the right size. By looking at the finished length of the jacket you can tell if you need to add a couple of inches. What I like to do is meaure the finished length of the size I want to make against my model and decide if its the right length for them, AND if its the right length for the style! Remeber this jacket should not go down to the hips, this style is meant to hit just an inch or so below the natural waistline.

Somethings that you need to consider in your planning:

  • Are you making this jacket for a boy or girl. Girls have jackets close right over left and boys jackets are left over right. You'll need to cut your pieces accordingly (I'll mention it again on day 2 when we cut fabrics)
  • Size, do you need to blend sizes for a better fit. If you do need to blend sizes don't forget you will also need to adjust the pocket placement to make sure the opening isn't at an awkward position on your jacket and make sure its done on both right and left sides of the jacket.


Tomorrow we'll be cutting out fabrics and talking about zipper length and how to adjust it if its a bit too long for your garment. Remember its always easier to shorten a zipper than to make it longer, heeeheee.

Until next time, xx.


*This blog contains affiliate links meaning I make a small commission if you click on the link and make a purchase through it at no extra cost to you.